Tile Installation Cost in Las Vegas (2026 Guide): A Complete Buyer’s Decision Guide

September 8, 2026

At 1 Home Construction, we’ve been helping homeowners evaluate tile installation projects for years of experience, and we’ve seen how confusing pricing can be. This Tile Installation Cost in Las Vegas (2026 Guide) is designed as a decision tool, not a sales pitch – so you can compare materials, labor, and long-term value before signing a contract. If you’re still weighing whether you even need professional flooring help, our flooring services guide breaks that down in detail. We’ve seen projects where a low bid led to cracked grout within months because the subfloor wasn’t properly leveled. The homeowner paid twice – once for the bargain install and again for demolition and rework. Tile looks simple on the surface, but the cost is tied directly to preparation, layout precision, and code compliance.

What Regulations Mean for Tile Installation Costs

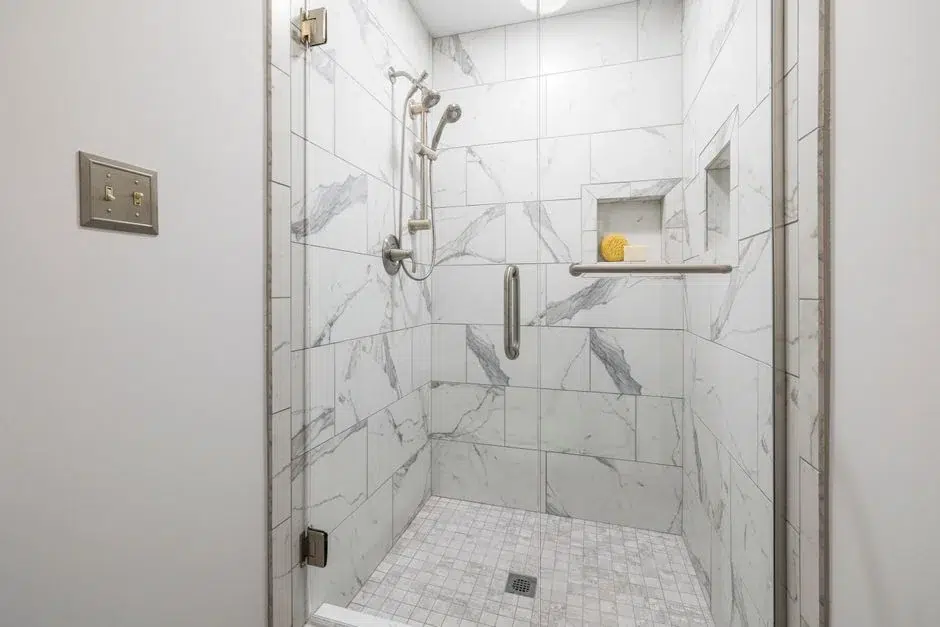
expert tile installation cost las vegas team at work by 1 Home Construction
Professional tile installation starts with compliance. Best practice means verifying substrate integrity, waterproofing wet areas, and meeting fire and structural codes where applicable. Labor costs may rise when code-required upgrades – such as added backer board or waterproof membranes – are necessary, but skipping them can result in failed inspections or denied insurance claims. We also follow ANSI A108 standards for mortar coverage and grout application. Red flags when comparing bids include no mention of waterproofing in showers, no movement joints at perimeters, and unusually low labor pricing that excludes demolition or surface prep. Code-compliant installation protects your investment and ensures resale inspections go smoothly.
What Regulations Mean for Tile Installation Costs - 1 Home Construction

Questions to Ask and What the Installation Process Looks Like

Understanding what drives tile installation cost helps you compare proposals accurately. We recommend asking contractors detailed questions before signing:
  • Will you evaluate subfloor deflection and moisture content?
  • What waterproofing system will you use in wet areas?
  • Does your estimate include demolition, disposal, and surface leveling?
  • How do you handle movement joints and transitions?
A typical installation process includes:
  1. Site evaluation and moisture testing.
  2. Demolition and debris removal.
  3. Substrate repair or installation of cement backer board.
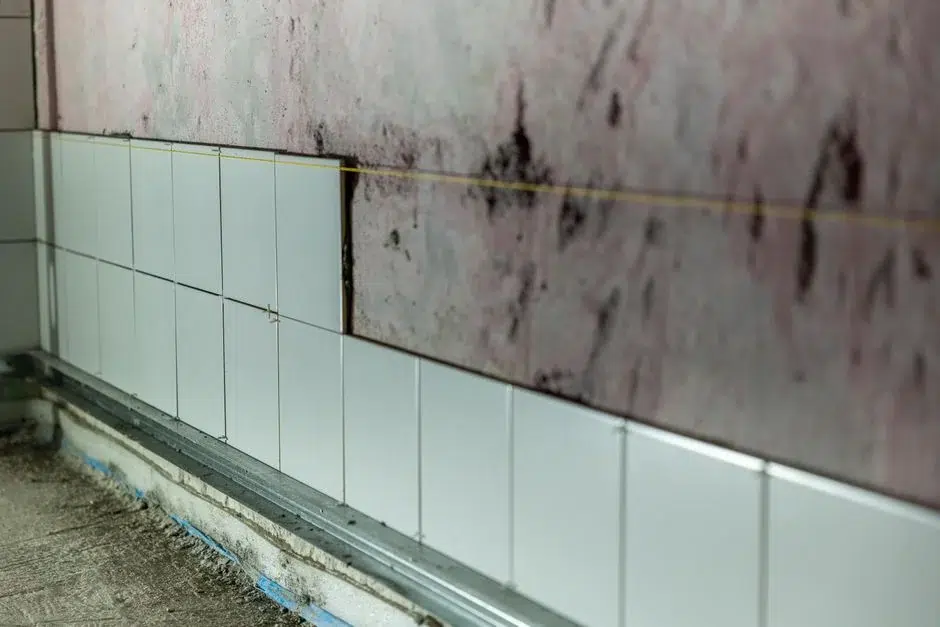
  4. Layout planning using chalk lines or laser guides.
  5. Tile setting, grout application, and curing.
In our experience, standard porcelain tile installation may range from $8 to $15 per square foot installed, while natural stone or complex patterns like herringbone might range from $15 to $30 per square foot. A bathroom floor project might take 2 – 4 days, while a full-home installation can extend to 1 – 2 weeks depending on scope. One customer attempted a DIY shower install without proper slope to the drain (minimum 1/4 inch per foot per plumbing standards). Water pooled, grout failed, and we rebuilt the shower pan with a pre-sloped mortar bed and waterproof membrane. Costs fluctuate based on site complexity, material costs, and total scope. These figures are preliminary benchmarks for informational purposes only and do not constitute a binding quote. An on-site evaluation is required for a final proposal.

Get Expert Guidance Before You Commit

Tile installation is a long-term investment that affects safety, durability, and property value. Before choosing materials or signing a contract, we recommend a professional evaluation of your subfloor, layout plan, and waterproofing strategy. Our team provides detailed, transparent proposals that outline preparation steps, materials, and timeline expectations so there are no surprises mid-project. If you’re planning tile as part of a broader renovation, coordinating flooring with cabinetry, plumbing, and trim work prevents costly rework. We help homeowners compare options, understand code requirements, and select materials that perform for years – not just look good on day one. Connect with us to review your project goals and receive a comprehensive, site-specific assessment.
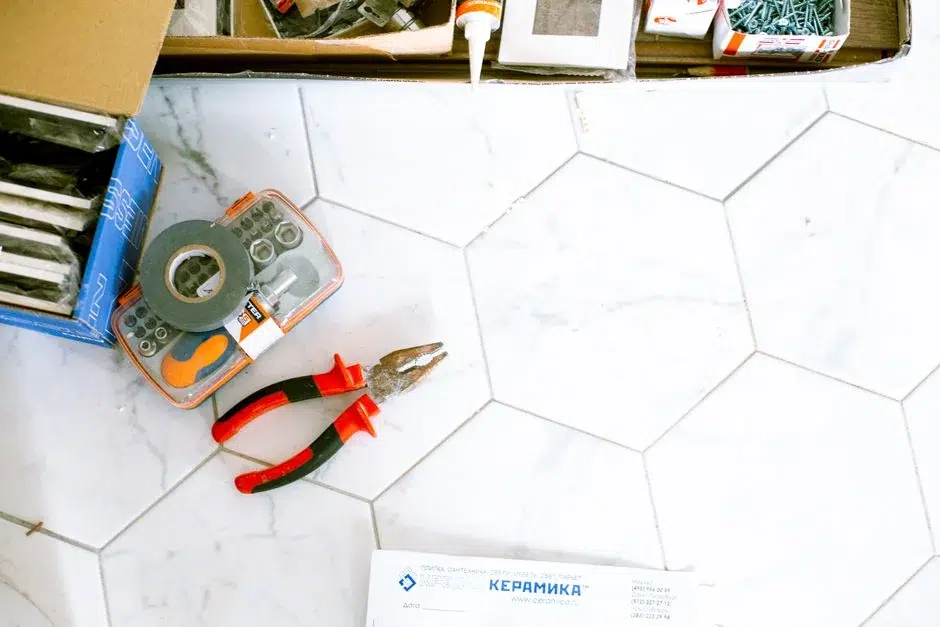
expert tile installation cost Las Vegas team at work by 1 Home Construction

FAQs

A thorough tile installation estimate should go beyond material and labor pricing. It typically includes demolition of existing flooring, debris disposal, subfloor inspection, leveling compound if required, underlayment or cement backer board installation, waterproofing in wet areas, tile setting, grout, and sealing if applicable. We also outline layout complexity, such as diagonal patterns or mosaics, which increase labor time. In our experience, one of the biggest misunderstandings comes from quotes that exclude surface preparation. If the subfloor has dips exceeding 1/4 inch over 10 feet, self-leveling compound may be necessary to meet industry standards. Skipping this step can lead to hollow tiles or cracking. We recommend confirming whether trim removal, baseboard replacement, and transition strips are included. Clear documentation protects you from change orders and ensures the scope aligns with industry standards like ANSI A108 and TCNA guidelines.
Yes, tile type directly impacts labor and material costs. Porcelain is dense and requires high-quality diamond blades and stronger thin-set mortar, which increases labor time. Natural stone often needs sealing before and after installation, adding material and labor steps. Large-format tiles (such as 24×48 inches) require a flatter substrate and may need a medium-bed mortar to prevent lippage. Glass tile installations demand specialty mortars and precise trowel techniques to avoid visible ridges. Mosaic sheets involve detailed alignment and additional grout work. Each material has manufacturer-specific guidelines for spacing, mortar selection, and cure times. We’ve seen projects where homeowners selected polished marble without factoring in long-term maintenance. Stone can etch from acidic cleaners, requiring specialized care. Choosing the right tile means balancing aesthetics with performance requirements and maintenance expectations.
Budgeting depends on the type of tile, the installation area, and preparation needs. Basic ceramic or porcelain installations may start around $8 per square foot installed, while intricate layouts, stone materials, or custom shower builds could range from $15 to $30 or more per square foot. Demolition, leveling, and waterproofing can add to the total. A standard bathroom floor might cost between $1,500 and $4,000 depending on size and tile choice. Whole-home installations could reach five figures depending on square footage and pattern complexity. Pricing fluctuates based on site complexity, material costs, and total scope. Removing old flooring, repairing subfloors, and addressing moisture issues increase labor time. These figures are preliminary benchmarks for informational purposes only and do not constitute a binding quote. An on-site evaluation is required for a final proposal.
DIY tile installation can work for small, low-risk areas like a laundry room floor with standard ceramic tile. However, precision matters. Subfloor flatness, correct mortar selection, and proper trowel technique determine long-term performance. Improper slope in showers or inadequate mortar coverage in wet areas often leads to leaks and mold. We’ve repaired DIY installations where grout lines were uneven and tiles lacked sufficient bonding because the installer used the wrong notch size. In wet environments, missing waterproof membranes can cause hidden moisture damage behind walls. If you attempt DIY, follow manufacturer instructions carefully and verify substrate stiffness meets L/360 deflection standards. For showers, structural floors, or natural stone, professional installation significantly reduces financial and structural risk.
Tile is low maintenance compared to other flooring, but it isn’t maintenance-free. Grout lines should be sealed if using cement-based grout, typically every 1 – 3 years depending on traffic and cleaning frequency. Use pH-neutral cleaners to avoid degrading grout or etching natural stone. Inspect movement joints along walls and transitions annually. These joints, often filled with flexible sealant rather than grout, absorb expansion and contraction. If they crack or harden, replace them with a silicone-based sealant approved for tile applications. We advise checking for hollow sounds when tapping tiles – this may indicate bond failure. Addressing small issues early prevents widespread damage. Consistent cleaning and periodic resealing protect both appearance and structural integrity.
Common issues include cracked grout, tile lippage, hollow spots, and moisture intrusion. Cracked grout often results from substrate movement or insufficient mortar coverage. Lippage – uneven tile edges – typically occurs when large-format tiles are installed on an uneven surface without proper leveling systems. Hollow spots happen when thin-set mortar doesn’t achieve full coverage. In wet areas, inadequate waterproofing can lead to mold growth behind walls. Efflorescence, a white powdery residue on grout, may appear if moisture migrates through concrete slabs. We’ve corrected installations where expansion joints were omitted, causing tiles to tent upward. Following ANSI A108 and TCNA movement joint guidelines prevents this failure. Proper prep and adherence to standards significantly reduce long-term issues.
Look for licensing, insurance, and proof of experience with projects similar to yours. Ask whether the contractor follows TCNA and ANSI A108 standards. Request details about substrate preparation, waterproofing systems, and movement joint placement. A professional contractor should provide a written scope outlining demolition, prep work, materials, and timeline. Verify they carry liability insurance and, where required, workers’ compensation coverage. This protects you from financial exposure if accidents occur. Review photos of past installations and ask how they handle unexpected subfloor issues. Clear communication about change orders and inspection requirements reduces disputes. Choosing a qualified professional lowers the risk of premature failure and costly repairs.
Stop using the affected area immediately to prevent further damage. If the cracking is near plumbing fixtures, shut off the water supply to eliminate the risk of hidden leaks. Delaying repairs can allow moisture to penetrate beneath the tile, leading to mold growth, subfloor rot, or structural weakening. Cracks may signal substrate movement, improper mortar coverage, or missing expansion joints. Ignoring early signs often results in more extensive demolition later. Contact a qualified professional to inspect the installation and determine whether localized repair or full replacement is required. Document visible damage for insurance purposes if applicable. Emergency dispatch or after-hours fees may apply for immediate response.